Windows 98 uses a tool called “FDISK” to create partitions:
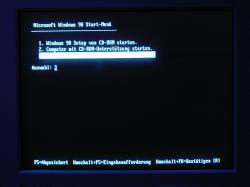 |
| Boot the system with the Windows98 CD in the CD drive. You will be prompted either to start Windows Startup, start the computer with CD-ROM support, or start the computer without CD-ROM support. Choose to start the computer with CD-ROM support. |
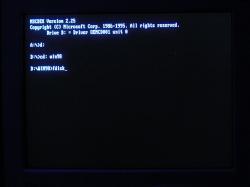
| We need to run a program called “FDISK.” At the A:\> prompt, type D: (D being your CD drive) and press enter. At the D:\> prompt, type cd: win98 and press enter. At the D:\WIN98> prompt, type fdisk and press enter. |
|  |
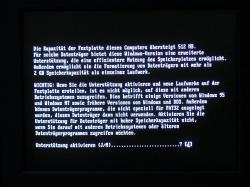 |
| You will probably have installed (I hope) a hard drive larger than 2GB. When asked if you want to enable “large” disk support, say yes. |
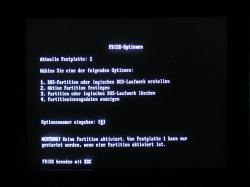
| When presented with “FDISK Options,” choose number 1, “Create DOS Partition or Logical Drive” |
|  |
 |
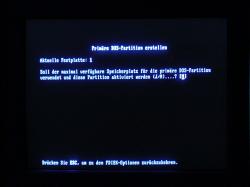
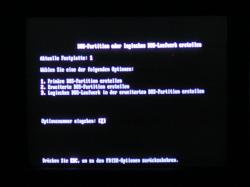
| In the next screen, again choose number 1, which is “Create Primary DOS Partition.” This will create the partition that will hold the operating system. |
| FDISK will ask you if you want the Primary DOS Partition to use the maximum amount of space available. Since you want to make a second partition later, choose “No.” |
|  |
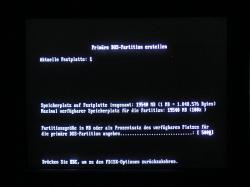 |
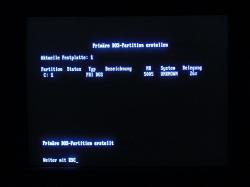
| The next screen will show how much space you have available and ask you how big you want to make the partition. With a 20GB hard drive, 5GB is reasonable, but it does not need to be this large. |
| The next screen will show you that the partition has been created, and prompt you to press Esc to continue. |
|  |
 |
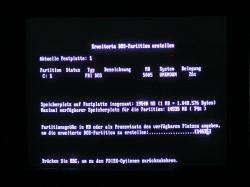
| Now we need to make the second partition. In the “Create DOS Partition or Logical Drive” screen (where we chose option 1 before), now choose 2: “Create Extended DOS Partition.” |
| I only want two partitions here: one for Windows, one for data, so I will use the rest of the space available (here 15GB) for the second partition. If you want more than two partitions, you would want to make this partition smaller, and then repeat this and the previous step to make the other partitions. |
|  |
 |
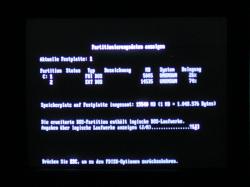
| When you are finished creating all the partitions you want, press Escape to go back to the original “FDISK Options” screen and select number 4, “View Partition Data” |
| Take a look at your partitions to make sure everything is set up correctly. If so, you can quit FDISK and move on. |
|  |
Now that you have partitioned your hard drive, the first part of the Installation process is formatting it. Formatting means erasing the drive and setting up the file system that it will use.
|
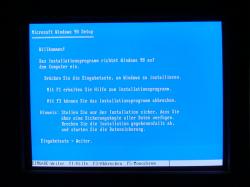
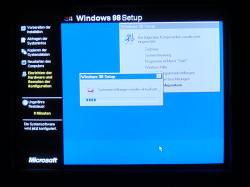
| Reboot with the CD in the drive, and when asked, choose to start Windows Startup (Option 1). |
| As you begin, Windows Startup gives you the options of either asking for help, quitting or continuing. |
|  |
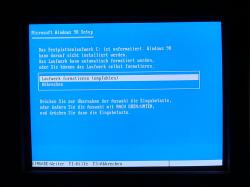 |
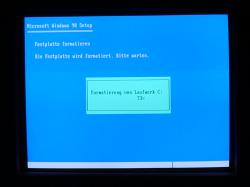
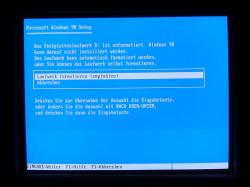
| It will detect that your C: drive (which is actually your first partition) in not formatted. Choose to format it. |
| Wait while the formatting proceeds. This may take some time. |
|  |
 |
| After formatting your C: drive, Windows Startup will also detect that your D: drive (your second partition) is not formatted, either. It is not necessary to do so at this point, but go ahead and format it now so you don’t have to worry about it later. |
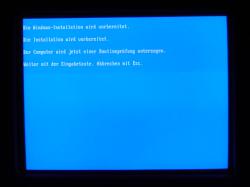
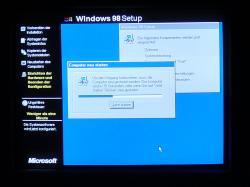
| After all the formatting is finished, Windows Startup will inform you that it is continuing and will perform some checks of your hard drives. |
|  |
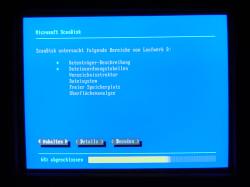 |
| As those checks are performed, your screen will look like this. |
| When the checks are finished, you will be told (hopefully) that no errors were found. |
|  |
|
|
|
|
|
|
|
|
|
|
|
|
|
|
|
|
|
|
|
|
|
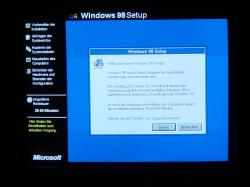 |
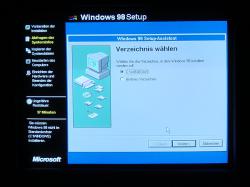
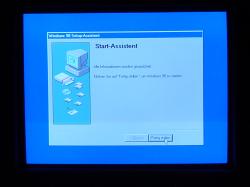
| The actual Windows Startup process will now begin. Click “Next” to continue. | | You will be asked where you want to install this copy of Windows. Choose the default, C:\WINDOWS. (unless, of course, you have a reason to put it somewhere else.) |
|  | 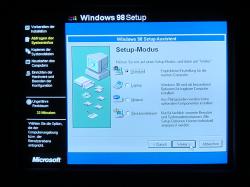 |
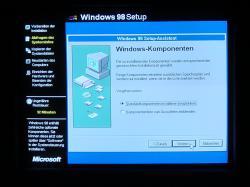
| You will then be asked what setup mode you want: Standard, Laptop, Minimal, or User-Defined. | | You will be asked whether you want the standard Windows components setup, or to choose components from a list. |
|  | 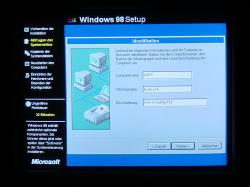 |
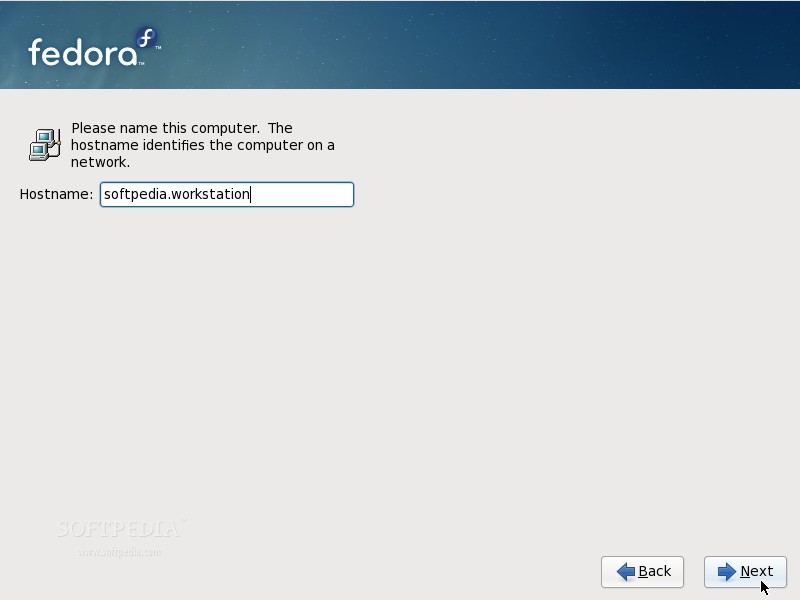
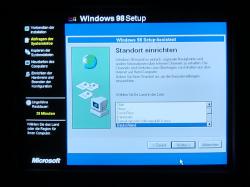
| You will be asked for a computer name, description and workgroup. If your computer is not connected to a network, you don’t have to worry about the workgroup. | | You will be asked your location. |
|  |  |
| Startup will now restart your computer. Leave your CD in the drive, but when the computer restarts, do not boot from CD-ROM. Let it boot from the hard drive. |
 |
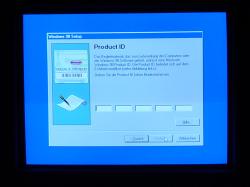
| After restarting, you will be asked for your name and that of your company. | | You will then be asked for the product ID code that came with your copy of Windows. |
|  |  |
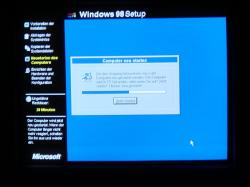
| At this point you will have to restart the computer once more. Again, do not boot from CD-ROM | | After restarting, Windows Startup will begin an analysis of your hardware… |
|  | 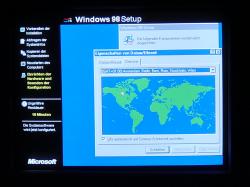 |
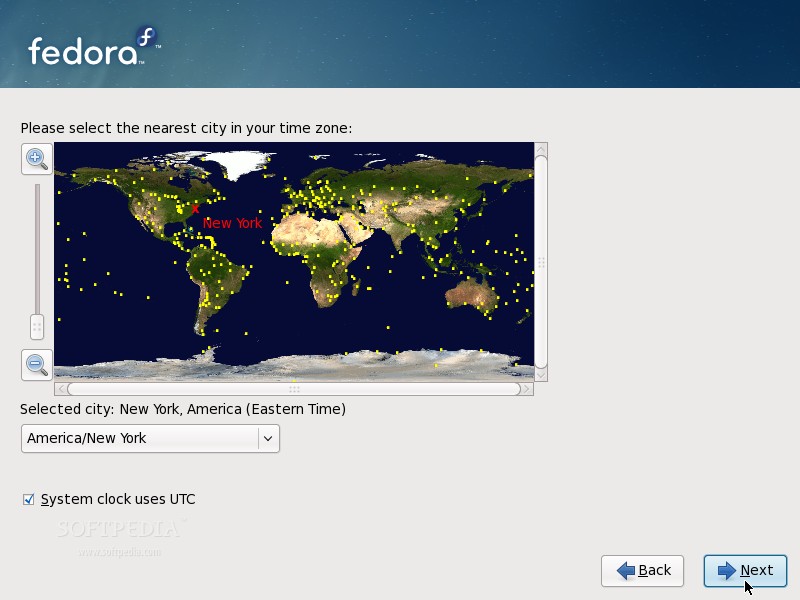
| …Ask you for your time zone… | | …Update your system information… |
|  |  |
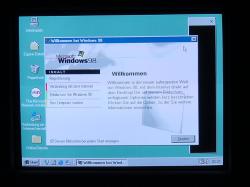
| …And restart again | | You have now (finally) finished installing Windows 98! |
|  |
|
|
|